I'm so excited to hear that Robyn is adding two more Design Team members to her team, and she looking for one of us to join her. She has requested that you submit your entry by means of your blog and link to "MY PINK STAMPER" no later than Wednesday, January 5, 2011. Your entry can be a card, scrapbook page or a project of our own design, that must include her favorite colors....PINK, GREEN AND BROWN (you may add a color of your choice too). entry...I think my entry turned out pretty darn cute!

Finished Card Size: 11.5 x 4 1/4
Supplies:
Cricut Cartridge: "Give a Hoot"
Paper: White, Pink, Green, Brown and coordinating Stripe
Ribbon, Glitter, Brad, Paper flowers-Large Blue, Medium Brown, Small Pink
Cut an 11 x 8 1/2 white piece of card stock in half-length wise
Score white paper @ 4 1/2 and 7 1/4 -this will create three separate sections to decorate
Cut additional pieces for sentiment
Stripe Paper: 4 1/2 x 4, 2 1/2 x 4, and 3 1/2 x 4, and additional piece for sentiment layer
Green Paper: 3 3/4 x 2 1/4, and piece for sentiment layer, and scallop punch border 1" wide
Pink Paper: Give a Hoot, page 57 - cut Bird at @ 2 1/4 inches, layers (flower and wings)
Brown: cut 2- @ 1" inch Border (twigs and and side flourish)
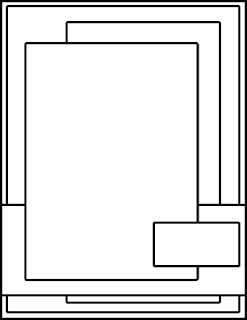
Assemble a shown in picture....Quick note: I found it easier to glue the wings on the bird, use my adhesive on the wings and then apply the glitter. Also, apply your stickler's last to the center of the flower, the birds eye, flourish and across the top and bottom of the green center piece last.